

Why Regular Fluid Checks Matter
Modern vehicles depend on several distinct fluids to keep their systems running safely and efficiently. Engine oil lubricates moving parts, coolant prevents overheating, brake fluid transfers the force of your foot to your brake pads, and washer fluid keeps your windshield clear. Letting any of these drop too low — or ignoring early warning signs — can lead to costly mechanical failures or, in the case of brake fluid, a genuine safety risk.
The good news: checking these fluids at home takes under 20 minutes and requires no specialist training. If you're building your broader maintenance habits as a new driver, the complete guide for new drivers is a useful companion resource alongside this walkthrough.
What you will need
What You'll Need Before You Start
Gathering the right items before opening the hood will make the process smoother and keep your hands and clothing clean.
Owner's Manual
Identifies fluid types, reservoir locations, and acceptable level ranges specific to your vehicle.
Clean Rag or Paper Towels
Used to wipe the oil dipstick clean before taking a reading, and to clean up any minor drips.
Nitrile Gloves
Protects hands from engine oil, brake fluid (a skin irritant), and coolant during the inspection.
Flashlight or Phone Torch
Helps illuminate reservoirs and fluid levels in dark or congested engine bays.
Top-Up Fluids
Correct-specification fluids (as listed in the owner's manual) to restore levels if any reservoir reads low.
Refer to your owner's manual before purchasing any top-up fluid. Using the wrong specification — for example, the wrong viscosity of engine oil or an incompatible coolant type — can cause damage. The manual will list exactly what each system requires.
Step-by-Step Fluid Check Instructions
Work through each fluid in the order below. Taking a methodical approach means nothing gets overlooked.
Park safely and let the engine cool
Park on a flat, level surface and turn off the engine. Wait at least 10 minutes before opening the hood — longer if the car has been driven recently. A cold engine gives you accurate oil and coolant readings and eliminates the risk of burns from pressurised, hot fluid.
Check the engine oil
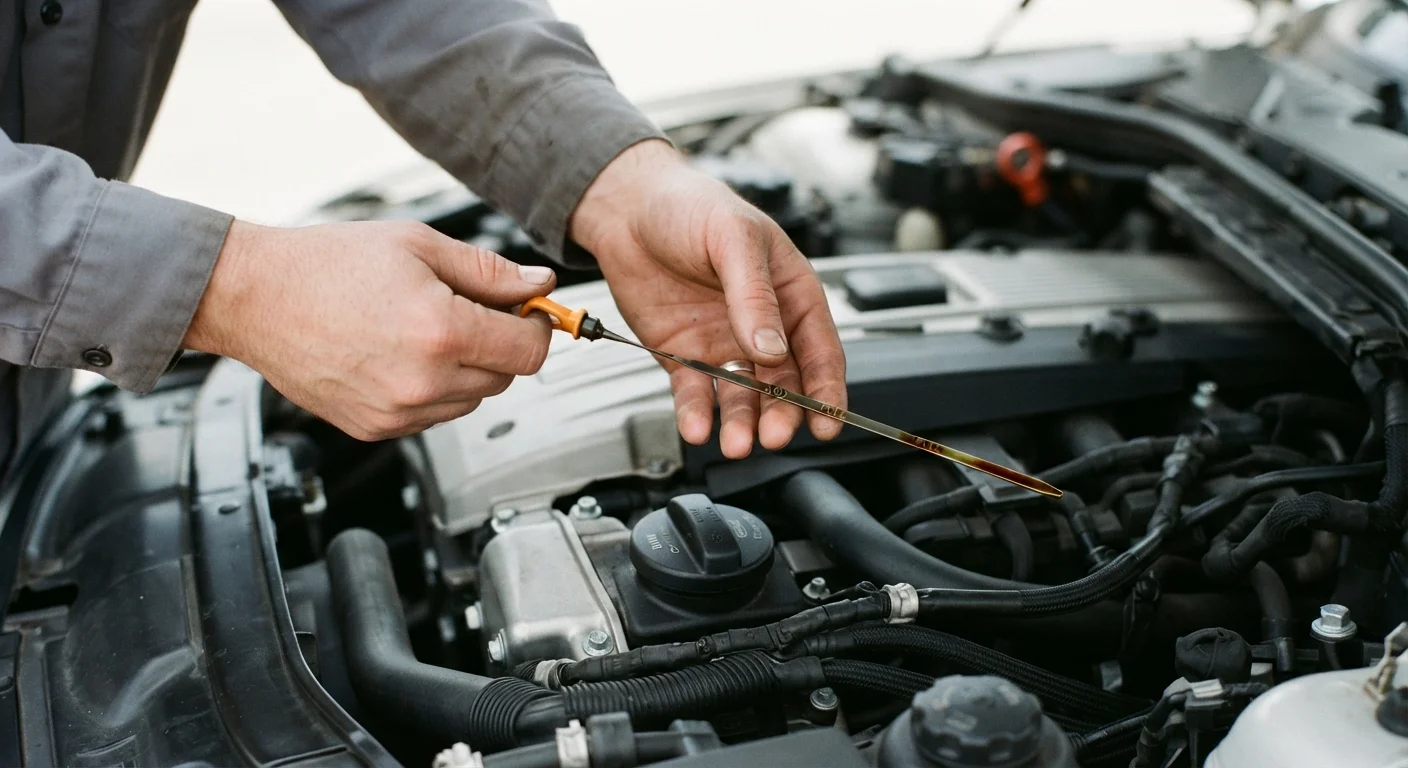
Locate the oil dipstick — typically identified by a brightly coloured (yellow or orange) ring handle. Pull it out fully, wipe it clean with your rag, reinsert it all the way, then withdraw it again. Observe where the oil film ends relative to the MIN and MAX markings etched near the bottom of the dipstick. The level should sit within that range. Also note the oil's colour and consistency.
Check the engine coolant
The coolant reservoir is a translucent plastic tank, usually near the front of the engine bay, with a colour-coded cap (often marked with a temperature symbol). Without removing the cap, check the external markings on the tank — the coolant level should sit between the LOW and FULL lines. If the level appears low on a cold engine, you can carefully add the correct coolant mixture as specified in your manual.
Check the brake fluid
The brake fluid reservoir is typically mounted on top of the brake master cylinder, near the back of the engine bay on the driver's side. It's a small, semi-translucent container with a screw-on or clip-on cap. Check the level against the MIN and MAX markings on the outside of the reservoir without opening it. Brake fluid should appear clear to slightly yellow — dark or murky fluid may indicate it needs replacing.
Check the power steering fluid (if applicable)
Many newer vehicles use electric power steering and have no fluid reservoir to check. If your car has hydraulic power steering, the reservoir is usually a small, capped cylinder located near the steering column or the side of the engine bay. Again, check against external MIN/MAX markings, or use the attached dipstick if the reservoir has one. Refer to your owner's manual to confirm whether your vehicle has this system.
Check the windshield washer fluid
The washer fluid reservoir is the easiest to locate — it's typically a large, translucent blue or white tank with a windshield wiper symbol on the cap. Remove the cap and visually confirm the fluid level. Unlike the other fluids, this one won't damage your engine if it runs low, but an empty reservoir means you can't clear your windshield safely while driving.
Make It a Monthly Habit
Running through this fluid check once a month takes less time than filling a tank of gas. Catching a slow oil leak or a dropping brake fluid level early is far less disruptive — and less expensive — than dealing with the consequences. Pairing your fluid checks with tyre pressure checks is an efficient combination; see how tyre pressure affects fuel efficiency and handling for context.
Interpreting What You Find
A one-off low reading on engine oil or washer fluid is usually not a cause for alarm — just top up and monitor it over the following weeks. However, certain findings do warrant closer attention:
- Brake fluid consistently dropping: Brake fluid doesn't evaporate. If the level is repeatedly low, have a qualified mechanic inspect the brake system for a possible leak.
- Milky or frothy engine oil: This can indicate coolant mixing with oil — a symptom of a head gasket issue that needs professional diagnosis promptly.
- Coolant that looks rusty or cloudy: Contaminated coolant loses its protective properties. Understand more about what healthy coolant looks like in our guide to the cooling system and antifreeze.
- Engine oil that's very dark: Darkening alone isn't always alarming — learn what oil colour changes actually signal before assuming the worst.
Know When to Involve a Professional
Fluid checks are a DIY-friendly task, but topping up is not the same as diagnosing an underlying problem. If you find yourself repeatedly topping up the same fluid, or if you notice anything unusual — contaminated oil, persistent coolant loss, or spongy brake feel — have the vehicle inspected by a qualified mechanic. For a balanced look at which jobs to tackle yourself versus which to leave to a professional, see DIY car maintenance vs. using a garage.
For a broader annual review that goes beyond fluids, consider working through the structured vehicle health check routine to assess your car's overall condition.
The content on this site is for informational purposes only and is not a substitute for professional advice. Always consult a qualified professional for guidance specific to your situation.