

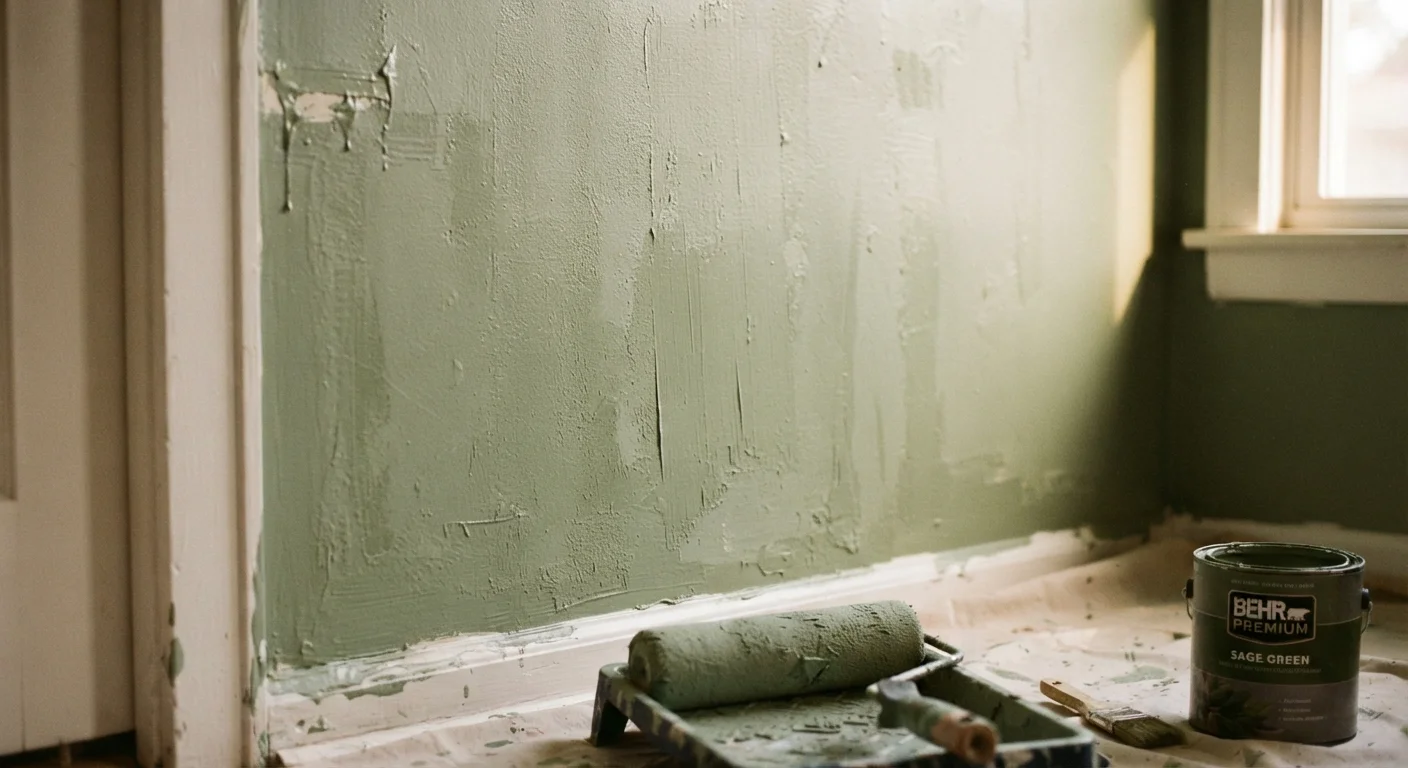
The Real Reason Two Coats Aren't Enough
You followed the instructions. You applied two careful coats of paint, let it dry, and stepped back — only to find the wall still looks blotchy, uneven, or striped with faint roller marks. The frustrating truth is that patchiness after painting is almost never the paint's fault. It's nearly always a process problem, and once you understand what's going wrong, it's very fixable.
The most common culprits fall into a handful of categories: surface preparation, primer use, application technique, and dry time. Each one is avoidable. Below, we break down the specific mistakes that cause patchy results and explain exactly how to prevent them on your next project.
Skipping primer before painting, especially over repairs or bare drywall.
Why it happens: Many homeowners assume that 'paint-and-primer-in-one' products eliminate the need for a dedicated primer coat, or that previously painted walls don't need it.
Not allowing enough dry time between the first and second coat.
Why it happens: Impatience is understandable — the first coat looks nearly dry to the touch after an hour, so many people move on. But touch-dry and fully cured are very different states.
Using inconsistent roller pressure or an under-loaded roller.
Why it happens: Rollers naturally deposit more paint at the beginning of a stroke and less toward the end. Painters who don't maintain even pressure create a visible gradient of thick and thin coverage.
Painting over a dirty, dusty, or greasy wall surface.
Why it happens: Walls in kitchens, hallways, and around light switches accumulate grease and grime that isn't always visible until paint goes on and beads or separates.
Using the wrong roller nap thickness for the wall texture.
Why it happens: A standard short-nap roller works on smooth walls but can't carry enough paint into the valleys of textured surfaces, leaving high spots covered and low spots thin.
What Paint Finish Has to Do With It
One frequently overlooked factor is the finish itself. Flat and matte paints are far more forgiving of application inconsistencies because they don't reflect light in ways that expose roller lines or thin spots. Eggshell, satin, and gloss finishes, by contrast, are very revealing — light bounces off them at angles that make every variation in film thickness visible.
If you're painting in a higher-sheen finish and seeing patchiness, you may simply need a third coat, applied with a fully loaded roller using consistent, overlapping strokes. You can also learn more about how each finish behaves in different rooms in our guide to paint finishes decoded.
High-Sheen Finishes Reveal Every Imperfection
Satin, semi-gloss, and gloss finishes reflect light in ways that make thin spots, roller lines, and uneven buildup highly visible — especially under raking or natural side lighting. If you're using a sheen finish in a well-lit room, extra care during application and an additional coat are often necessary. Consider testing a small section and viewing it under the room's actual lighting before committing to the full wall.
It's also worth noting that not all paints deliver the same hiding power. Cheaper paints often contain less pigment and binder, meaning you genuinely may need more coats to achieve solid coverage — though the techniques below will still make a meaningful difference regardless of the product you use.
Fixing Patchiness Already on Your Walls
If you're already looking at a patchy finished wall, the good news is that a corrective coat — applied correctly — usually solves the problem without stripping back to bare drywall. Lightly sand any raised roller marks with fine-grit sandpaper, wipe away dust with a slightly damp cloth, and let the surface dry completely. Then apply one additional coat using a consistent roller pressure and a quality roller cover appropriate for your wall texture.
For walls that have patchy spots after joint compound repairs or spackle touch-ups, spot-prime those areas before repainting. The repaired zones absorb paint differently than the surrounding surface, and no number of topcoats will fully hide that difference without a primer layer sealing the repair first. This is a point reinforced by our overview of common home maintenance myths — some widely repeated shortcuts genuinely backfire.
80%
Of paint failures linked to surface prep
Industry painting guides consistently attribute the majority of finish failures — including patchiness, peeling, and poor adhesion — to inadequate surface preparation rather than paint quality.
2–4 hrs
Minimum recoat time for most latex paints
Most interior latex paint labels specify a recoat window of two to four hours under normal conditions; exceeding humidity or cold temperatures can extend this significantly.
With the right process, most patchy paint problems resolve within a single corrective session. Patience during prep and dry time is what separates a frustrating repaint from a result you're proud of.
The content on this site is for informational purposes only and is not a substitute for professional advice. Always consult a qualified professional for guidance specific to your situation.