

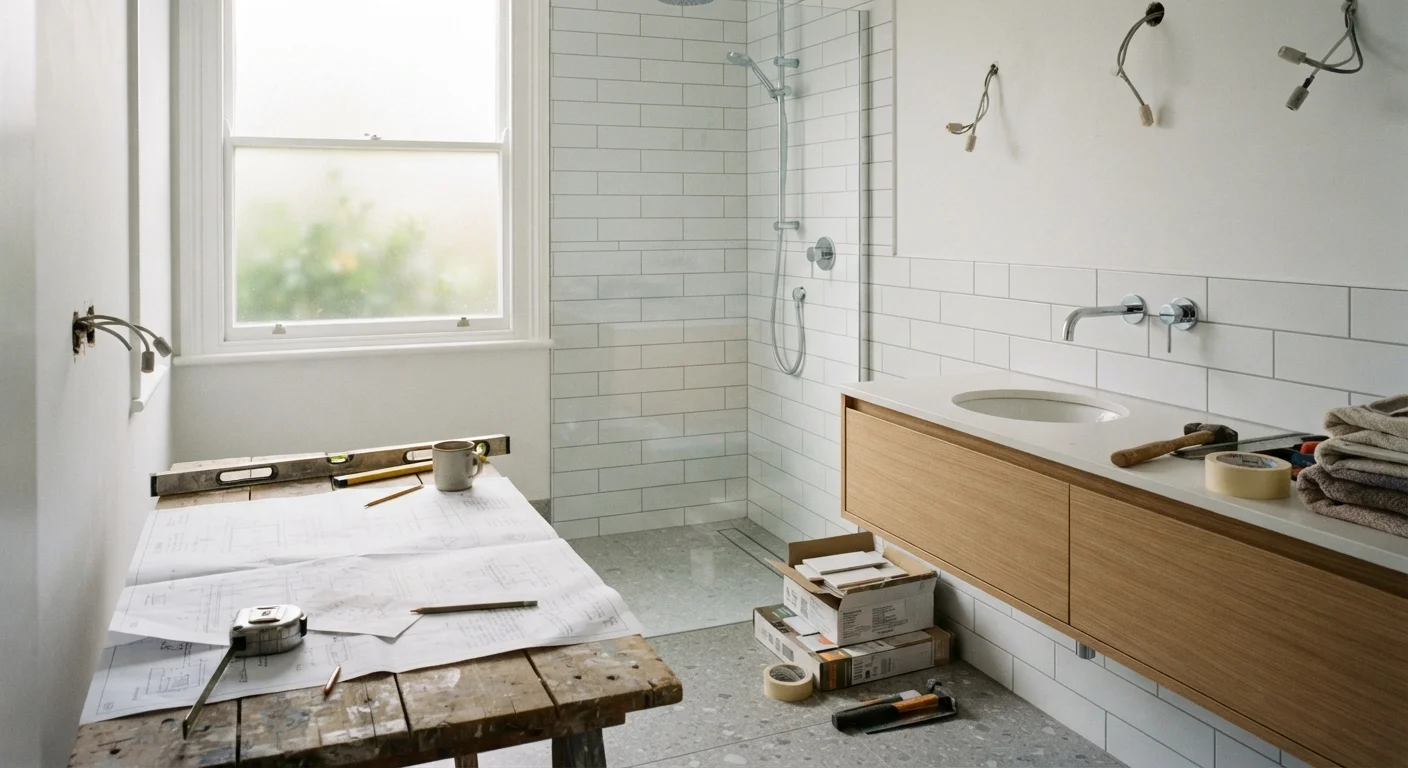
Why Planning Comes Before Everything Else
A bathroom renovation is one of the most rewarding home improvement projects — and one of the most punishing when rushed. The space is small, but the density of plumbing, electrical, ventilation, and waterproofing systems packed into it is enormous. Mistakes made here are expensive to fix and sometimes invisible until water damage appears months later.
The homeowners who navigate bathroom renovations successfully tend to share one trait: they treat planning as the project itself, not as the warm-up. Before a single tile is ordered or a contractor is called, a clear picture of scope, sequence, and decision points makes the difference between a smooth build and a stalled one.
If you're weighing this against other home priorities, our guide on home maintenance on a budget can help you decide when a bathroom renovation makes sense relative to other urgent needs. And if this is your first renovation project of any kind, the first home renovation expectations guide covers the foundational mindset you'll need.
Assessing Your Layout and Scope
Start by categorizing your renovation honestly. There are three broad tiers:
- Cosmetic refresh: New fixtures, paint, vanity, mirror, and accessories — no moving pipes or walls. This is the most DIY-accessible scope.
- Mid-level remodel: Replacing tile, tub, or shower surround in the same footprint. May involve waterproofing membrane replacement and some subfloor inspection.
- Full gut renovation: Moving plumbing, reconfiguring layout, replacing subfloor, or adding square footage. Requires licensed trades and almost always requires permits.
Walk through your bathroom and document what you're keeping versus removing. Note where the main drain stack is located — relocating it is one of the most expensive decisions in any renovation. If your toilet, tub, and sink can stay roughly in place, costs stay manageable. Moving a toilet even a few feet typically means cutting into concrete or repositioning a drain line — a job for a licensed plumber.
~$12,000
Median U.S. bathroom remodel cost
Industry estimates suggest midrange bathroom remodels often fall between $10,000 and $15,000 depending on scope and region.
15–20%
Recommended contingency budget
Construction professionals widely advise setting aside this portion of the total budget to cover hidden costs revealed during demolition.
2–4 weeks
Typical active build time for a gut renovation
This estimate excludes material lead times and contractor scheduling, which can extend the overall timeline by several weeks.
Permits, Codes, and Licensed Trades
This is where many homeowners underestimate the process. In most U.S. jurisdictions, permits are required when you alter plumbing supply or drain lines, move or add electrical circuits, change ventilation, or make structural changes. A cosmetic refresh rarely triggers a permit; a gut renovation almost always does.
Unpermitted Work Creates Real Legal and Safety Risk
Skipping required permits isn't just a rule violation — it's a liability that follows the home. Unpermitted structural, plumbing, or electrical work may need to be demolished and redone at your cost during a future sale inspection. More critically, it means the work was never inspected for safety compliance. Always verify permit requirements with your local building department before any work begins.
Work done without required permits can create serious problems when you sell your home — inspectors flag unpermitted work, and buyers may require it to be brought up to code at your expense. More importantly, unpermitted plumbing and electrical work isn't inspected, meaning safety issues go undetected.
Always check with your local building department before work begins. Requirements vary by city and county. A reputable contractor will factor permit applications into their timeline and pull the permits themselves — if a contractor suggests skipping permits to save money or time, that's a warning sign worth taking seriously.
For plumbing, electrical panel work, gas lines, and structural modifications: hire licensed professionals. These aren't areas where DIY saves money in the long run.
Sequencing the Work: The Right Order of Trades
Trade sequencing is the backbone of a bathroom renovation. Getting the order wrong means tearing out finished work to fix what's behind it. The standard sequence looks like this:
- Demolition — Remove existing fixtures, tile, drywall, and flooring down to the structure.
- Rough plumbing — Plumber adjusts or installs supply lines and drain rough-ins before walls close.
- Rough electrical — Electrician runs new circuits, exhaust fan wiring, and GFCI outlet placement before walls close.
- Inspection — If permits are required, rough-in inspections happen before any walls are enclosed.
- Subfloor and backer board — Cement board or tile-ready panels are installed over a sound, level subfloor.
- Waterproofing — Shower and tub areas require a waterproofing membrane applied before any tile goes up. This step is non-negotiable for long-term durability.
- Tile — Floor tile typically goes in after wall tile to protect it from foot traffic during work. See our detailed guide on tiling a bathroom wall for the nuances of surface prep and adhesive selection.
- Paint and drywall finishing — Non-wet areas are painted before fixtures are set.
- Fixture installation — Toilet, vanity, faucets, shower valve trim, mirrors, and lighting go in last.
- Final inspection — Required if permits were pulled.
Give your plumber the exact make and model of your shower valve before rough-in — not after. The rough-in depth varies by manufacturer and can't be corrected once walls are closed.
Valve body depth determines how far the supply lines are set into the wall. Installing the wrong depth means the trim plate won't seat properly, requiring a costly wall re-open.
Order 10% more tile than your square footage calculation, and keep the leftover after installation. Future repairs with an exact dye-lot match are far easier than hunting for discontinued tile years later.
Tile production varies between manufacturing batches (dye lots), meaning tiles ordered later may not match originals in color or texture — even under the same product name.
Design Decisions to Lock In Before Work Begins
One of the most common causes of project delays is a homeowner who hasn't decided on finishes when the contractor needs them. Lead times for tile, custom vanities, and specialty fixtures can run four to twelve weeks. If a tile is backordered after demolition has started, your project stalls and costs accumulate.
Before your start date, have confirmed selections — not just ideas — for every item on this list:
- Floor tile (size, material, quantity including 10% overage for cuts)
- Wall or shower tile
- Vanity and sink (confirm rough-in dimensions match your plumbing)
- Faucet and shower valve (your plumber needs the model before rough-in)
- Toilet (confirm rough-in distance from wall)
- Exhaust fan (sizing based on bathroom square footage)
- Lighting fixtures and mirror
- Paint finish (semi-gloss or satin for humidity resistance)
Create a Physical Decision Binder
Compile all confirmed selections — tile samples, fixture spec sheets, paint chips, and confirmation emails — into a single binder or shared digital folder before work starts. Share it with your contractor so everyone is working from the same information. This single habit eliminates the majority of mid-project miscommunications.
Decisions made after demolition, under time pressure, often lead to choices you'll regret. The planning phase is where your creativity should run freely — not mid-project.
Budgeting Realistically and Staying on Track
Bathroom renovations vary enormously in cost depending on scope, materials, and labor rates in your area. What's consistent across nearly every project is this: the final cost is almost always higher than the initial estimate, and the gap is usually explained by what's found inside the walls.
Hidden subfloor rot, outdated galvanized plumbing, insufficient electrical capacity, and mold behind tile are discovered during demolition — not before. Building a contingency of 15–20% of your total budget into your plan from day one is not pessimism; it's the single most effective buffer against project-derailing surprises.
Track spending against a line-item budget throughout the project. Categories to itemize separately include: demolition and disposal, plumbing labor and materials, electrical labor and materials, waterproofing, tile and installation, vanity and fixtures, permits and inspections, and finishing (paint, hardware, accessories). Keeping these distinct helps you identify where overruns occur and make informed trade-off decisions. The home maintenance resource hub offers additional guidance on managing costs across home improvement projects.
Finally, set a realistic timeline. A full gut renovation of a single bathroom typically takes two to four weeks of active work, plus scheduling lead time for trades. Add the procurement window for materials and you're often looking at a two- to three-month process from planning to completion. Managing that expectation upfront keeps the experience far less stressful.
This article provides general planning information for educational purposes only. Always verify permit requirements, safety standards, and trade licensing with your local authorities and qualified professionals before beginning renovation work.
The content on this site is for informational purposes only and is not a substitute for professional advice. Always consult a qualified professional for guidance specific to your situation.